This walkthrough takes one project from empty to an exported file. The steps are the same in ChatCut Desktop, the web app, and the Agent Plugin; where a surface behaves differently, it is called out. If you have not chosen one yet, see Web, Desktop, and Agent Plugin.
You need a ChatCut account and, ideally, one video or audio file. If you have no footage, you can still finish this walkthrough by generating a clip in step 3.
1. Open a project
Sign in to ChatCut. If your account has no project yet, ChatCut creates one and opens the editor.
To start another project, select the Home icon in the top bar, then New project in the project dashboard.
2. Add your media
Open My Assets → Upload and choose Files…, Folder…, or From phone…. The files become project assets you can reuse in every timeline of that project.
You can also attach a file directly in the AI panel with Upload (+). That attachment is context for the current message only — it does not become a project asset. See My Assets / Media Pool for the difference.
Wait until the asset card finishes processing before using it in generation or export.
3. Describe the edit
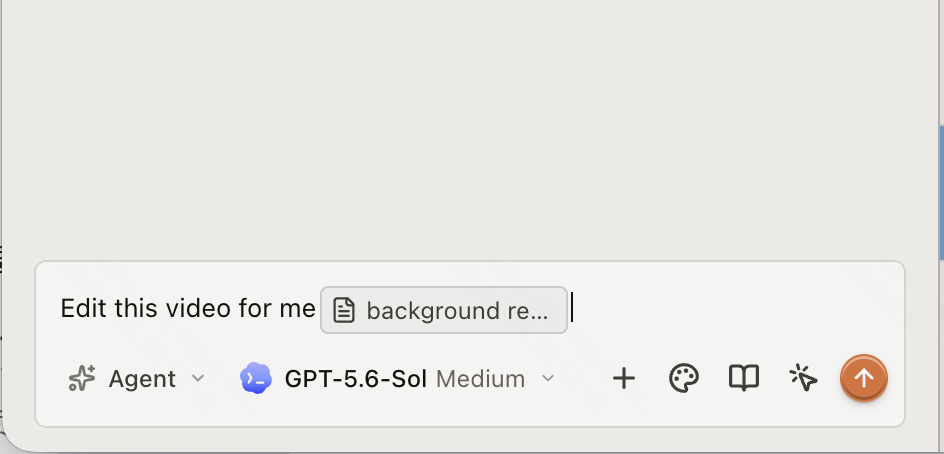
Enter what you want in the Prompt composer at the bottom of the AI panel, then select Send message.
- Keep the composer in Agent when ChatCut should read the project and edit the timeline for you — for example, “Cut @interview down to 60 seconds and remove the filler words.”
- Switch to Video Gen when you want to configure and submit one video-generation job instead.
On an empty conversation, workflow cards may fill the composer with a starter prompt. Selecting a card does not start the task; edit the text, then send it.
Manual editing, uploads, and export do not use credits. AI generation does, and ChatCut may show a confirmation card with an estimate before it runs — see Generation Confirmations and Auto-Allow.
4. Review the result
Agent progress and questions appear in the conversation, new media appears in My Assets, and edits appear in the active Timeline. Play the result in the Viewer.
Anything the agent did is a normal timeline edit: drag clips to move them, drag an edge to trim, and use Undo if a change went further than you wanted. To keep a restore point before the next pass, open Versions and select Save Current Version.
5. Export
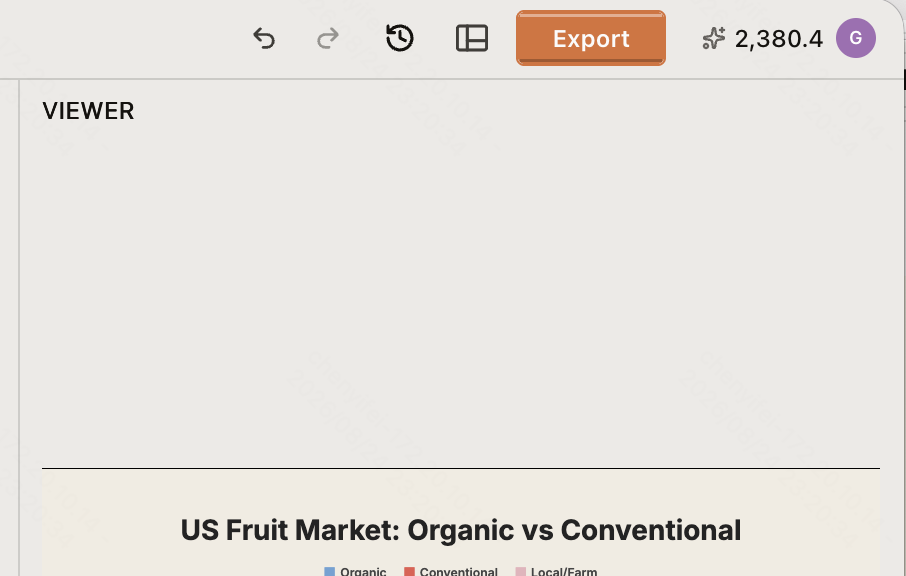
Select Export in the top bar and choose what to deliver: video, audio, subtitles, transparent graphics, or an editable project file for another editor.
The web app and Agent Plugin render in ChatCut’s cloud; ChatCut Desktop can render on your own computer, including 4K and HDR on capable hardware. See Web vs Desktop Export and Export Panel.
What to read next
- AI Panel Overview — every control in the AI panel and what it changes.
- Editor Layout — a button-by-button tour of the editor.
- Talking Head Edit — the most common first real project.